You notice it when the patio goes strangely quiet – then you hear the buzz. A steady stream of wasps tracing the same flight path under an eave, into a fence post, or behind a light fixture. That is usually the moment people reach for a spray can.
For many Southern California properties, that quick fix creates a bigger problem: agitated wasps, repeated stings, and a nest that is still active or rebuilt a week later. A safe wasp nest extraction process is not about being fearless. It is about being methodical, choosing the right timing, and treating the job like a controlled removal – because that is what keeps people safe and gets your peace and home restored.
What “safe” really means with wasp nest removal
Safety has two parts: preventing stings right now, and preventing the same spot from becoming a problem again.
Wasps defend their nest aggressively, and some species can sting multiple times. The risk climbs fast if the nest is near doors, play areas, pool equipment, trash enclosures, or anywhere people and pets move unpredictably. Safety also means recognizing when the job is not a DIY project – especially if anyone on-site has a history of severe reactions, the nest is in a confined void, or the activity level suggests a large colony.
“Safe” also means avoiding choices that create collateral damage. Overusing chemicals can push wasps deeper into walls or disperse them through attics and crawlspaces. And if the entry point stays open, another colony can claim the same shelter later in the season.
Step 1: Identify what you are dealing with (before you touch anything)
A responsible extraction begins with identification. Not every flying insect around your home is a wasp, and not every “nest” is visible.
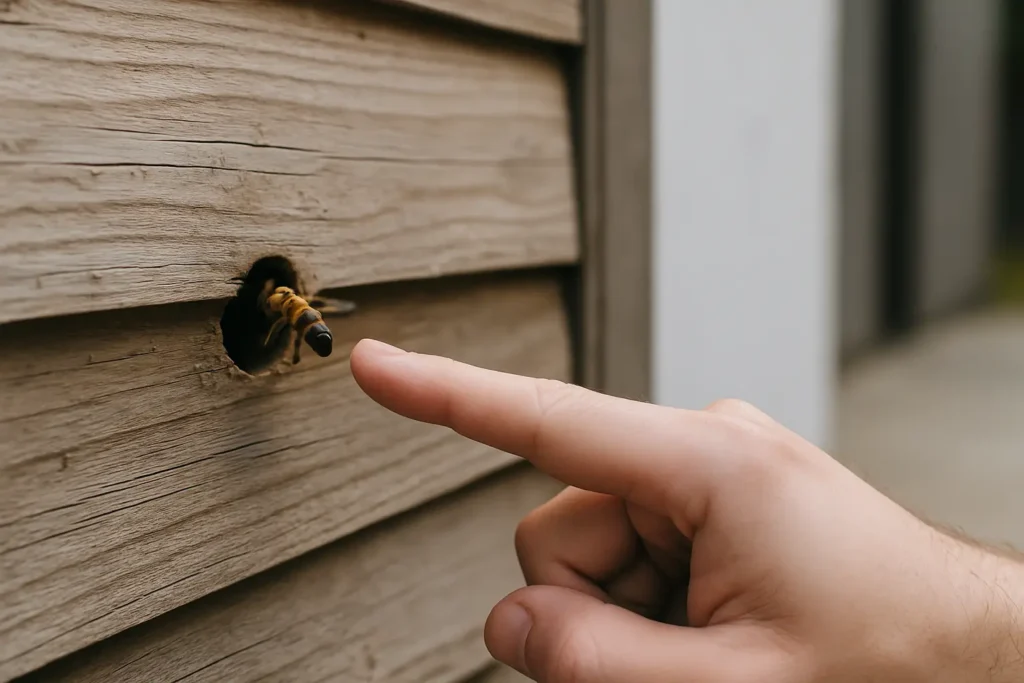
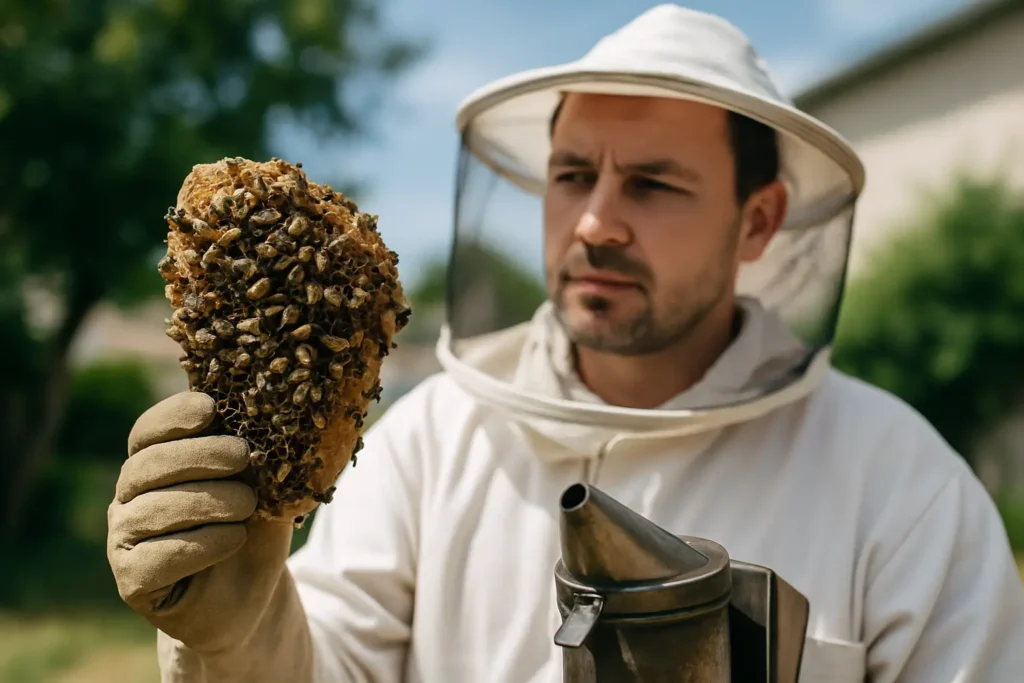
Paper wasps often build open, umbrella-shaped combs under eaves or overhangs. Yellowjackets may use wall voids, underground cavities, or dense shrubs, which is why you might only see traffic in and out of a small hole. Mud daubers build small mud tubes and are usually less defensive, but they can share areas with more aggressive species.
If you are seeing honey bees, the approach is completely different and should be handled with live removal and relocation, not pest-style treatment. If you are unsure, treat it as a do-not-disturb situation until it is properly identified.
A practical check that helps: watch from a distance for a minute or two and look for a consistent entry point. That single detail – where they are actually going – determines whether removal is straightforward or requires accessing a void.
Step 2: Decide whether this is a DIY job or a professional job
Here is the honest “it depends” part. Some small, exposed paper-wasp nests in easy-to-reach locations can be handled carefully by a homeowner who is not allergic and who can work safely from the ground. Many others should not.
A nest is better left to a professional when it is in a wall, attic, soffit, or roofline; when you would need a ladder or to step onto a roof; when you cannot clearly see the nest itself; or when the wasp traffic is heavy enough that you suspect a large colony.
Also consider what happens after removal. If you cannot close the entry point or repair a gap, you are signing up for repeat problems. Permanent solutions are rarely just “remove and walk away.”
Step 3: Choose the timing – it affects everything
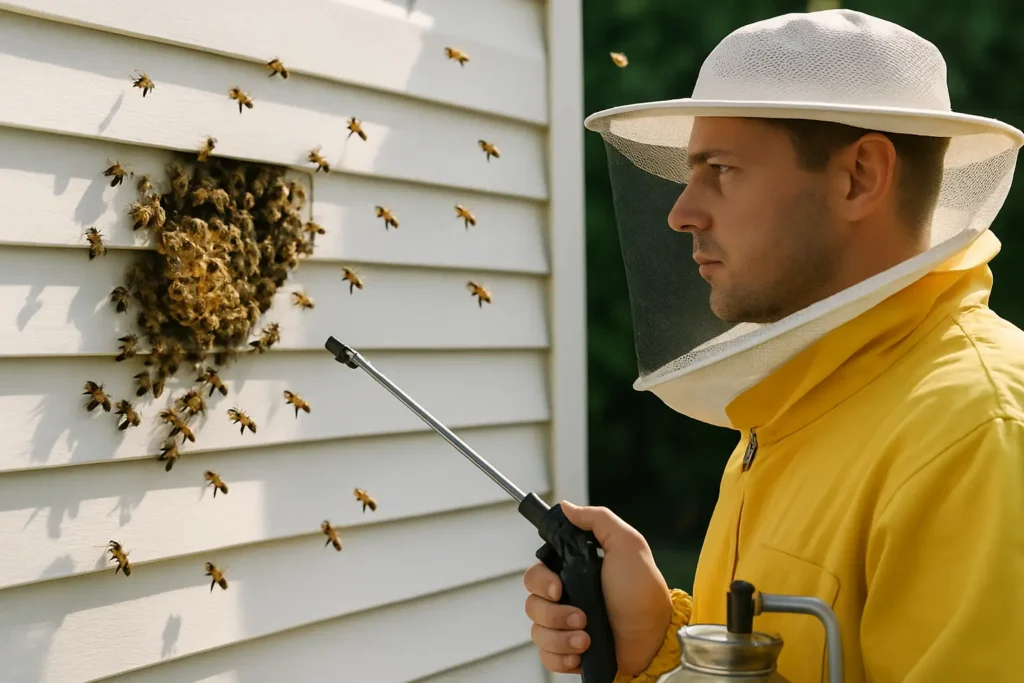
Most wasps are less active in cool temperatures and low light. That is why professionals often schedule removals at dawn, dusk, or evening. Timing is not just for comfort – it reduces the number of wasps out foraging, which reduces the number of defensive encounters during the removal.
Avoid windy conditions that can scatter airborne sprays or make ladder work unsafe. Avoid peak daytime hours when activity is highest. And avoid disturbing the area repeatedly leading up to the job – vibration and repeated “checking” can put a colony on alert.
Step 4: Control the work zone (people, pets, and pathways)
Before any removal attempt, create distance. Close windows near the activity, move outdoor furniture if it is in the flight path, and keep pets inside. If the nest is near a walkway or business entrance, reroute foot traffic.
This step is often skipped, but it is one of the most effective safety measures. Wasps are much more likely to sting when people accidentally bump the nest area or when they feel surrounded.
If you need to work near doors, plan how you will enter and exit without crossing the flight line. Safety is easier when you stop forcing wasps and people into the same narrow corridor.
Step 5: Use the right protective equipment (and respect its limits)
Protective gear is not just a “nice to have.” Even a small nest can produce multiple stings if it is disturbed.
At minimum, you want thick clothing that covers ankles and wrists, closed-toe shoes, gloves, and eye protection. Many people underestimate how quickly wasps find exposed skin at cuffs, collars, or hairlines.
That said, gear can create a false sense of security. If you are on a ladder, a sting response can cause a fall. If you are working in a tight space, bulky clothing can limit movement. If you do not have a clear plan for removal and retreat, protective clothing alone does not make the process safe.
Step 6: Execute the safe wasp nest extraction process
A safe wasp nest extraction process usually follows a consistent logic: reduce activity, remove the structure when possible, and prevent survivors from re-establishing.
For exposed paper nests, removal typically involves treating the nest at the right time (low activity), then physically removing the nest structure once the colony is no longer active. The goal is to avoid prolonged agitation. Quick, controlled movements matter.
For nests in voids – walls, soffits, attic spaces, irrigation boxes, or underground cavities – the “extraction” is less about grabbing a visible nest and more about addressing the colony at the entry point and the cavity itself. These are the cases where DIY attempts often fail, because you may not actually reach the colony. Worse, you can drive wasps into living spaces through gaps around light fixtures, vents, or baseboards.
If a nest is attached to a sensitive surface (stucco, painted fascia, electrical housings), removal has to account for property protection. Ripping a nest off can damage finishes or leave residue that attracts new insects. In some cases, the safest approach is careful dismantling rather than force.
Step 7: Remove residue and sanitize the area so it does not “advertise”
Even after the wasps are gone, the site can remain attractive. Nest remnants, pheromones, and food odors can draw scouting wasps.
Cleaning is not about making it look tidy. It is about removing cues that say “this is a successful nest location.” For exposed areas, that usually means scraping away remaining paper material and wiping down surfaces where possible. For void entries, it means removing debris around the opening and ensuring the cavity is not still accessible.
Be cautious with strong cleaners in enclosed spaces, and avoid mixing chemicals. If you are using any product, ventilation and label instructions matter.
Step 8: Repair and seal entry points (the part that prevents a repeat)
The difference between a quick removal and a lasting solution often comes down to repairs.
Wasps do not need much space. Small gaps in soffits, loose siding edges, unsealed conduit penetrations, and damaged vents can all become entry points. If the nest was in a fence post, the hollow top may need a cap. If it was in a wall void, the entry gap should be sealed once you are confident the activity is truly over.
Timing matters here. Sealing too early can trap live wasps inside, pushing them into interior spaces. Sealing too late can allow survivors to re-establish. When in doubt, confirm inactivity over a full day cycle.
For properties that see repeat issues, it can help to reduce attractants: keep trash lids tight, rinse recyclables, and manage fallen fruit. These steps do not guarantee prevention, but they reduce the “easy food nearby” signal that makes nesting locations more appealing.
Common mistakes that make wasp problems worse
Most bad outcomes come from a few predictable missteps. Spraying from too far away can fail to reach the nest and simply alarm the colony. Spraying in the heat of the day increases the chance of wasps being airborne and defensive. Knocking down a nest without controlling the colony often turns the job into a chase.
Another common issue is ignoring the real location. People focus on the visible cluster of wasps instead of the entry point. If the nest is in a wall, treating the surface does not solve the problem.
Finally, there is the “I think it is gone” assumption. Wasps can appear quiet for hours and then surge again when temperatures change. Confirming inactivity and then sealing properly is what closes the loop.
When you should treat it as urgent
If the nest is near a bedroom window, a daycare area, a high-traffic business entrance, or a pool, the risk of accidental contact is high. If anyone on the property has an allergy, it is not worth gambling. Multiple nests on the same structure can also signal that conditions are attractive and the problem may spread if not addressed.
If you need help quickly and you care about handling stinging insects responsibly – and, when the situation involves bees, rescuing them instead of destroying them – you can reach out to Eli the Bee Guy for a calm, safety-first approach that prioritizes lasting solutions.
A final thought for safer homes
If you remember only one thing, let it be this: the safest removal is the one that reduces panic – yours and the colony’s. When you slow down, choose the right timing, and commit to prevention after the nest is gone, you do not just remove a problem. You restore the feeling that your home is yours again.